
How to Draw Harry Potter. Harry Potter, the protagonist of author JK Rowling is an iconic character loved by many people of all ages.
Also, check our frog coloring sheets.
When we think of witchcraft and wizardry, Harry Potter is automatically the first person to mind. The popularity of Harry Potter has meant this tutorial is in high demand. You asked for it, so we delivered.
Finally, we’ve curated a step-by-step guide on how to draw Harry Potter, summed up in 9 simple and easy steps. You can use these steps whether you want to draw a realistic or animated-looking Harry Potter character.
Each step is accompanied by easy-to-understand illustrations that act as a visual guide as you follow the instructions. Plus, you can add your style and improvise at any stage. Mix and match colors to personalize and make your artwork unique. Let your creativity run wild and unleash your creativity.
How to Draw Harry Potter
Step 1
Drawing a large, irregular circle to outline Harry Potter’s face starts in the middle of the paper. Remember that the length of the process must be relatively more comprehensive than its height. Next, draw two curved stripes on either side of the face to shape the ears.
Here’s a handy tip: For Harry Potter’s face to be drawn in the center, you can draw a horizontal stripe and a vertical stripe on the paper as reference lines. Desi Ghee in Pakistan
Step 2
Draw two curved vertical lines nearly an inch apart just below the face. This will sketch the sides of the scarf. Then draw a slightly upward curve with both ends connected to the vertical lines.
Now that we’ve outlined the scarf, removing the dangling end is time to make it look more realistic. Starting on the left side of the scarf, draw two more slightly curved parallel vertical lines with a straight horizontal line connecting both ends.
Don’t hesitate to customize the scarf to your liking! You can even draw patterns and designs on the scarf for more fun!
Step 3
Draw two parallel vertical stripes on either side of the scarf with a straight horizontal bar connecting both ends. If drawn correctly, it should look like a larger version of the shape we drew for the scarf’s dangling future in the previous step.
Remember to do this step on the scarf’s left and right sides. This outlines the front of Harry Potter’s cloak.
Step 4
Draw two broad “V” lines on top of each other under the scarf and between the coat opening. The top line should be thicker than the bottom line. This will outline the collar of the shirt.
Next, draw two parallel horizontal lines below the “V” you drew. Like the “V” line, the top line should be thicker than the bottom line. This will outline the hem of the shirt. Body Mists Online In Pakistan
Step 5
Now that we’ve finished drawing the top, it’s time to remove the pants and shoes to complete the look!
Draw pants under the top by drawing a shape similar to how we drew the coat in step three. The pant legs should be slightly apart. Then, just below each pant leg, draw a side oval shape to outline the shoes.
Step 6
Using a pair of hands, draw the coat’s long sleeves on both sides of the body, slightly visible at the end of each sleeve.
As you can see in this figure, one hand is still at the side of the body while the other is raised. You can follow this illustration or position your arms however you like. Either way, we’re sure your Harry Potter drawing will be just as awesome!
Step 7
Draw the hair just above the head. Next, draw spiky tufts of hair near the forehead.
Now let’s move on to drawing the magic wand. Remove a pointed stick from the first of the raised hand to craft the wand. It should look like Harry Potter is holding his rod while raising his hands.
Step 8
Under the brows, draw two huge perfect circles. Next, connect the two circles by drawing a line between the lens.
Remember to make the outline of the rim thicker to make the glasses look more realistic.
Step 9
Inside the glasses we drew in the previous step, draw a vertical oval shape in each glass lens to create the eyes. Next, shade the inside of the eyes, leaving a tiny unshaded spot on the outside to create a “shimmery eye effect.”
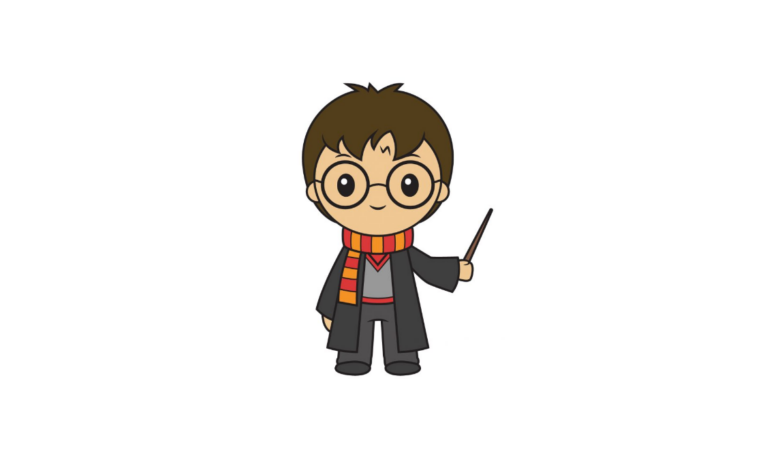
And that’s it; You have successfully drawn the legendary Harry Potter character. Now all that’s missing is a splash of vibrant color to complete your artwork finally!
Finally, the most exciting part comes: fill in the colors for your fantastic drawing! This is where you can show off your artistic skills and ability to mix and match different colors.
Harry Potter initially has raven hair. She usually wears the traditional Hogwarts school uniform, which consists of a long black coat and gray top paired with black trousers. The scarf he usually wears combines yellow and red, indicating his Gryffindor house of hers.
Your Harry Potter Drawing is Finished!


GIPHY App Key not set. Please check settings